A well-designed patio becomes an extension of your home, a place to entertain, relax, and enjoy the outdoors. The foundation of that space starts with your paver pattern and materials. Whether you’re renovating an existing patio or building one from scratch, the layout and design you choose will set the tone for years to come. This guide walks through seven proven patio paver design ideas that combine aesthetic appeal with practical durability, giving you the inspiration and know-how to tackle your next outdoor project.
Table of Contents
ToggleKey Takeaways
- Patio paver design ideas range from modern minimalist patterns using large-format neutral pavers to classic herringbone and chevron layouts that add visual interest and guide the eye across your outdoor space.
- Herringbone and chevron patterns require 10-15% extra material budget for cuts and waste, while a wet saw with a masonry blade is essential for precise, clean edges.
- Mixing different paver materials and textures—such as natural stone with concrete or rough surfaces with polished finishes—creates visual depth, but requires proper sealing every 2-3 years to protect against stains and fading.
- Color blocking strategies work best with 2-3 colors maximum and clear chalk-line guides, while mid-tone grays and warm buffs balance aesthetics with heat reflection and dirt visibility.
- Curved and circular patio designs require 15-20% extra material and significant cutting effort; concentric radial patterns offer a more DIY-friendly alternative with similar visual impact.
- Success with any patio paver design depends on careful planning, quality materials, proper drainage (1/8 inch per linear foot minimum slope), and honest assessment of your installation skill level before beginning your project.
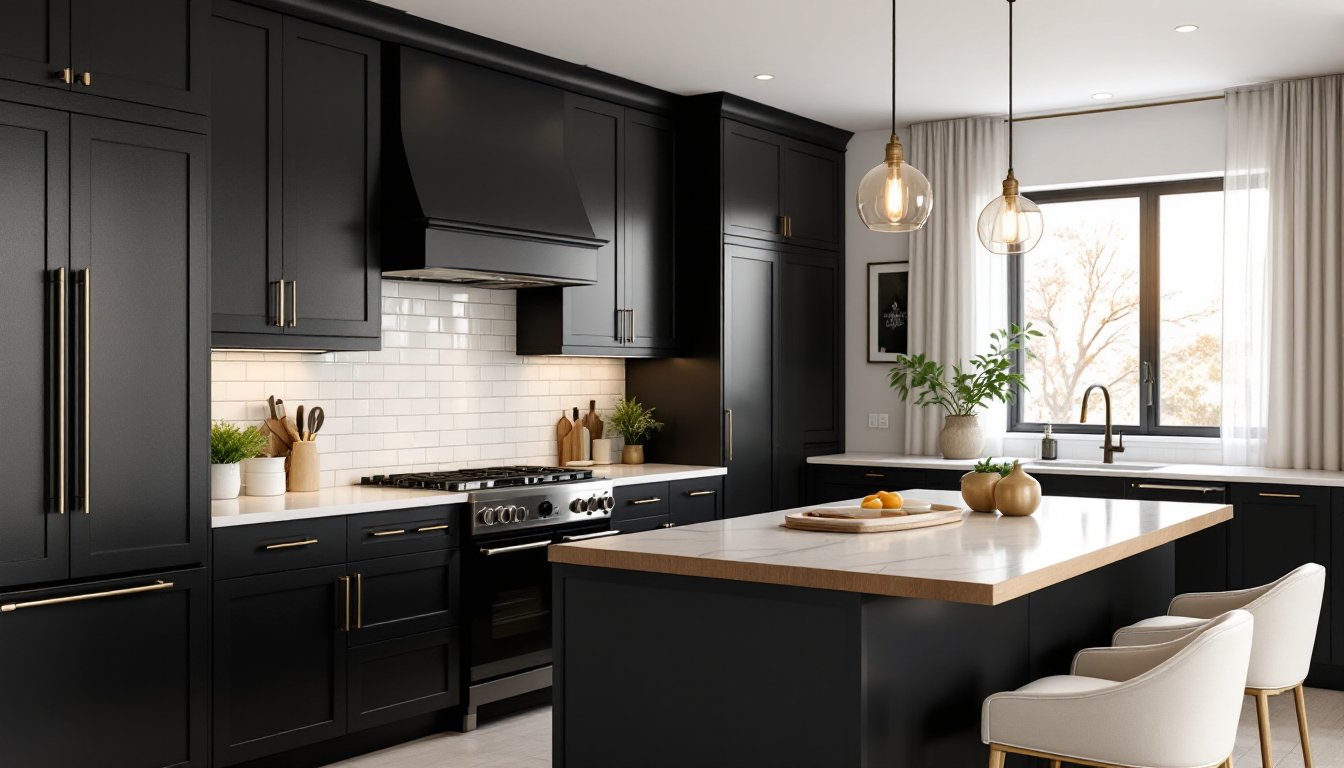
Modern Minimalist Patterns
A modern minimalist approach strips away visual clutter and emphasizes clean lines, neutral tones, and geometric simplicity. This design philosophy works especially well in smaller outdoor spaces or contemporary homes where you want the patio to complement rather than dominate the landscape.
The key to minimalist paver design is consistency. Stick to a single material type, concrete pavers, large-format porcelain tiles, or uniform stone, and keep the color palette to two or three neutral shades: grays, charcoals, warm sand, or whites. Lay them in a simple running bond (alternating brick-like pattern) or a tight grid without borders or accent strips.
When selecting pavers for a minimalist aesthetic, opt for large format sizes like 12×24-inch or 18×36-inch slabs. Fewer seams mean a cleaner appearance and faster installation. Concrete pavers work well here and offer cost efficiency: porcelain is more durable and requires less maintenance but costs more upfront.
For hardscaping, research the material options carefully to understand costs, durability ratings, and regional availability. One practical consideration: large pavers can be heavy and awkward to handle solo. You’ll want a second person or a pallet dolly for installation, especially with stone materials that run 50+ pounds per piece.
Classic Herringbone and Chevron Layouts
Herringbone and chevron patterns have remained popular for decades because they add visual interest and visual flow without overwhelming a space. The difference: herringbone creates a brick-like weave (45-degree angles), while chevron uses V-shaped columns of pavers all pointing the same direction.
These patterns work beautifully with rectangular pavers, typically 6×12-inch or 8×16-inch concrete or clay brick units. The diagonal layout naturally guides the eye and can make a small patio feel larger. But, the pattern requires more precise cuts, particularly at edges and around obstacles. You’ll need a wet saw with a masonry blade and patience: rushing cuts leads to cracked units and wasted material.
Herringbone is slightly easier for beginners because the pattern repeats in pairs. Chevron demands more accuracy since every paver must point in the same direction. Start with a chalk line to mark the center line of your patio, then build outward symmetrically.
One honest note: these patterns use more material because of the cuts and waste. Budget 10-15% extra for breakage and trimming. Also, herringbone and chevron look best on level ground, any settling or slope will be far more visible than with a simple running bond.
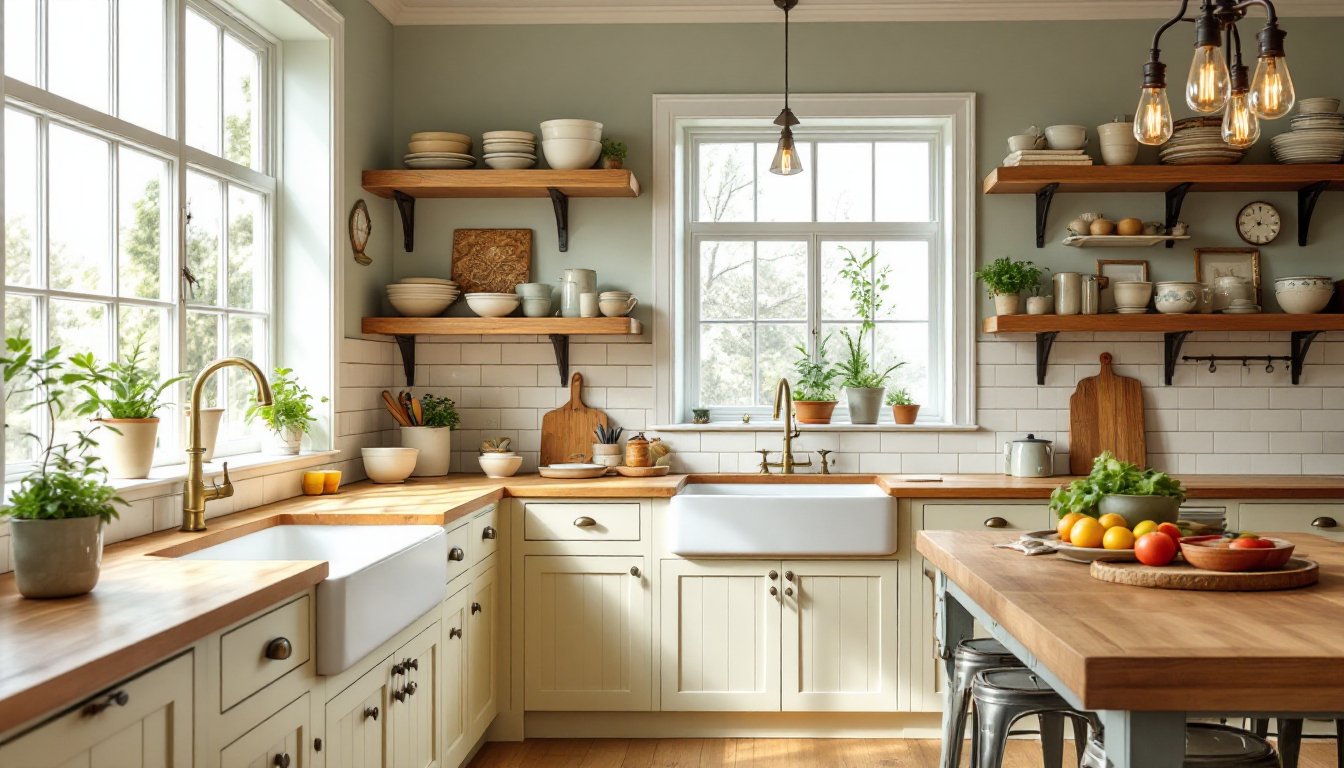
Mixed Materials and Texture Combinations
Combining different paver types, stone with concrete, matte finishes with polished surfaces, or contrasting colors, creates visual depth and personality. This approach works well for larger patios where you can dedicate zones: a seating area in one material, a dining zone in another.
Incorporating Natural Stone Elements
Natural stone like flagstone, bluestone, or limestone brings warmth and organic character but requires knowledge of its quirks. Flagstone varies in thickness (typically 1 to 2 inches nominal), so you’ll need to use more sand and level each piece carefully to prevent rocking. Bluestone offers uniform color and moderate durability: limestone is softer and can stain more easily in wet climates.
When mixing stone with concrete, use the concrete as a frame or secondary fill. For example, lay large 2-inch flagstone pieces with 6×6-inch concrete pavers in the grout joints. This reduces your stone material cost while maintaining visual richness.
Mixture also extends to texture: combine smooth, polished pavers with rough-faced or tumbled units. Rough surfaces provide better traction in wet climates but trap more dirt and are harder to clean. Polished surfaces look elegant but become slippery when wet, avoid them in high-traffic zones.
Sealing is critical with mixed materials. Stone absorbs water and stains easily: concrete can fade. A penetrating sealer protects stone without darkening it too much, while a concrete sealer enhances color and prevents moss growth. Reapply sealer every 2-3 years depending on traffic and climate.
Bold Color Blocking Strategies
Color blocking uses large fields of contrasting colors to create a modern, intentional look. Rather than mixing colors throughout, divide your patio into sections, perhaps a neutral border with a bold interior, or alternating quadrants of complementary tones.
This approach requires discipline. Pick two or three colors maximum and commit fully. For example, a border of charcoal gray concrete pavers with a field of warm terracotta, or light gray with deep charcoal and a thin stripe of lighter gray running through the center. Avoid random color scattering, which reads as chaotic rather than designed.
Color-blocked patios demand precision in layout. Snap chalk lines or use string guides to define color zones clearly. Mistakes are visible, so measure twice and cut once. Clay brick pavers offer richer color depth than concrete but cost more and may have slight shade variation unit-to-unit (this adds charm but requires careful selection for blocks meant to align with others).
Consider how colors weather. Darker pavers absorb heat and can be uncomfortably hot underfoot in summer, especially for barefoot traffic. Lighter colors reflect heat but show dirt more readily. The sweet spot for most climates: mid-tone grays or warm buffs that balance aesthetics with practicality. Climate and site conditions, sun exposure, drainage patterns, should inform your final palette choice.
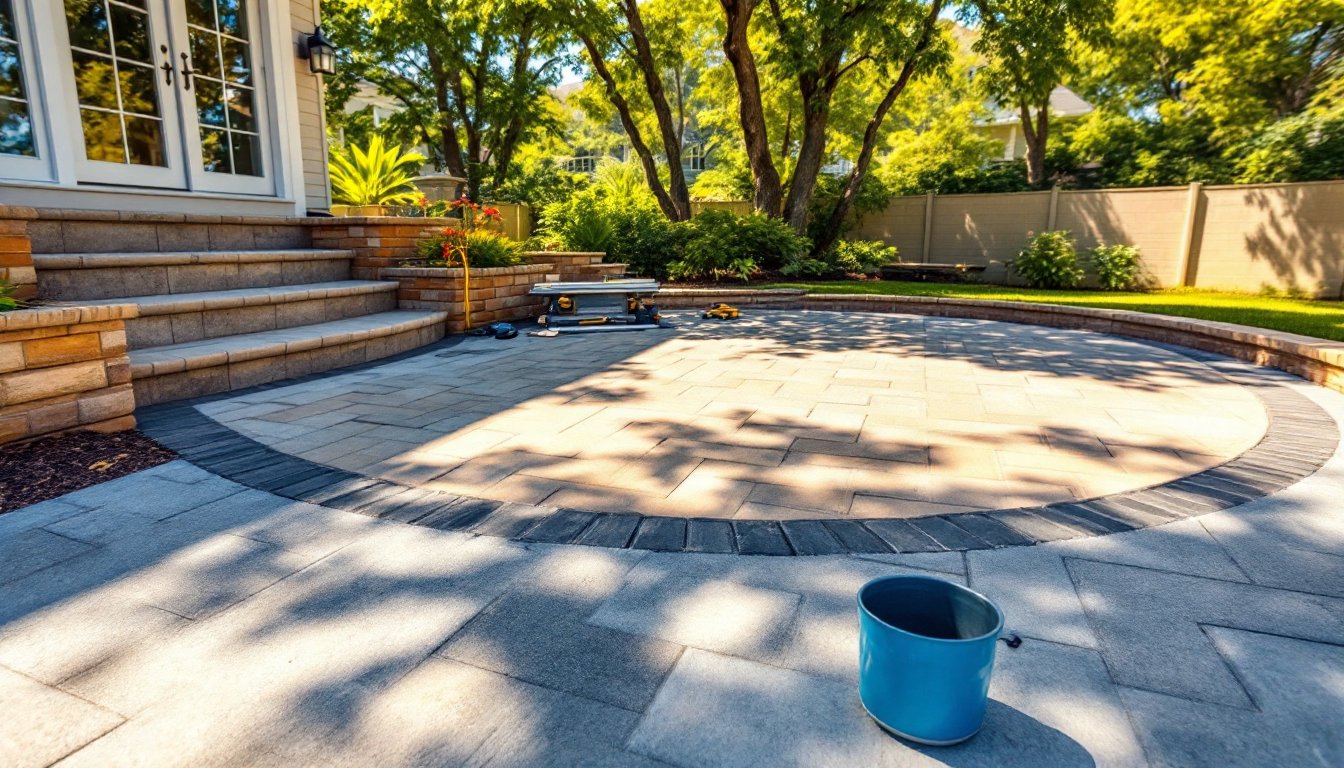
Circular and Curved Patio Designs
A curved or circular patio softens the hard geometry of a typical rectangular space and draws people in. Concentric circles, spirals, or meandering borders create focal points and guide movement through your outdoor area.
The challenge: every curve requires cuts. Straight-edged rectangular pavers don’t naturally curve: you must cut wedge shapes at slightly different angles to follow the arc. This is time-consuming and generates waste. Budget 15-20% extra material. A wet saw is essential, hand tools will produce ragged, unsafe edges.
Larger pavers are harder to work with in curves because the wedge angles become extreme. 4×8-inch or 6×6-inch units are more forgiving than massive 18×36-inch slabs. Concrete is easier to cut cleanly than stone: stone often splits unpredictably along natural planes.
One easier approach: use rectangular pavers in a concentric radial pattern (like spokes on a wheel) rather than true curves. This minimizes cuts and creates a similar visual effect while being far more DIY-friendly. Lay pavers from the center outward, rotating slightly with each ring.
Curved patios often work best as partial designs, perhaps a circular seating area in one corner or a curved border along a garden bed, rather than an entire patio. This keeps material waste manageable and focuses effort where it matters most. Drainage becomes more complex with curves, so plan for proper slope (typically 1/8 inch per linear foot minimum) and verify that water won’t pond in the center.
Conclusion
Your patio paver design should balance visual appeal with the practical realities of installation, maintenance, and climate. Whether you choose sleek minimalism, timeless herringbone, textured stone combinations, bold color blocking, or graceful curves, success depends on careful planning, quality materials, and honest assessment of your skill level. When in doubt, start simple, master a running bond before tackling chevron, and don’t skip prep work. Your patio will reward the effort for decades.