Building a basement wine cellar transforms unused square footage into a functional retreat that pays dividends in both utility and home value. Whether you’re storing a modest personal collection or planning for serious aging potential, a well-designed wine cellar demands more than just shelves and a cool corner. The key is understanding that basement wine cellar design ideas hinge on three non-negotiables: climate stability, proper storage, and a space that feels intentional rather than like a storage closet. The good news is that most homeowners can tackle significant portions of this project themselves, from framing walls to installing shelving, though climate control and moisture management typically require professional input. This guide walks through what actually matters when planning your underground tasting room.
Table of Contents
ToggleKey Takeaways
- Basement wine cellar design ideas prioritize three essentials: stable climate control, proper horizontal bottle storage, and moisture management to protect your collection.
- A dedicated wine cooling unit maintaining 45–65°F and 50–80% humidity is non-negotiable, as standard home systems fail to prevent cork degradation and wine oxidation.
- Choose moisture-resistant flooring like sealed concrete or basement-rated luxury vinyl and use cement board drywall with elastomeric paint to prevent mold and water damage.
- Horizontal wine racks in wood, metal, or modular systems must be securely fastened with lag bolts to wall studs, as a loaded rack can exceed 200 pounds.
- Use warm-toned LEDs (2700K or lower) on dimmers and avoid halogen bulbs, keeping the cellar dark most of the time to slow wine oxidation.
- A well-built basement wine cellar costs $3,000–$15,000 and delivers ROI through improved wine preservation, entertaining potential, and increased home resale value.
Why Build a Basement Wine Cellar
A basement wine cellar solves a real problem: most homes lack the stable, cool, dark environment wine needs to age properly. Standard kitchen cabinets and home refrigerators fluctuate in temperature and humidity, which accelerates cork degradation and wine oxidation. Even casual collectors notice the difference within a year.
Beyond preservation, a wine cellar becomes a design statement. Finished basements increasingly drive resale appeal, and a dedicated cellar, even a modest one, signals thoughtfulness and completeness to future buyers. The space encourages entertaining: hosting a tasting in your own cellar beats reservations at a wine bar. Functionally, you’re consolidating your bottles in one organized location rather than scattered across a pantry, closet, and garage.
The ROI argument is straightforward. A well-built cellar costs $3,000 to $15,000 depending on size and climate control sophistication, but adds perceived value that often outpaces the investment, especially in regions with strong real estate markets. More importantly, it works. Your bottles age as intended, and you actually use the space year-round.
Essential Climate Control Systems
Climate control is non-negotiable. Wine degrades when temperature swings exceed 5°F per month or humidity drops below 50% or climbs above 80%. Basements naturally stay cooler than upper floors, but without active management, you’ll lose this advantage.
Temperature and Humidity Management
A dedicated wine cellar cooling unit, not a standard HVAC system, maintains both temperature (ideally 45–65°F, typically 55°F for mixed collections) and humidity simultaneously. Common options include split-system coolers (whisper-quiet, efficient, ductless) and self-contained units mounted in a wall or window opening. Split-system units cost $2,000–$6,000 installed: self-contained units run $1,500–$3,500 but require a dedicated 240V outlet.
You’ll also need humidity control. Basements tend to damp: moisture promotes mold and label rot. Pair your cooler with a humidifier or dehumidifier (most integrated coolers handle both). A hygrometer ($20–$50) mounted inside monitors conditions in real-time. Many homeowners also install a moisture barrier on basement walls before framing to prevent water wicking into insulation and drywall.
Professional HVAC contractors should size and install cooling units, this isn’t a DIY installation. The unit must match your cellar’s square footage and insulation level, and improper refrigerant handling creates safety and efficiency problems. Budget 2–3 weeks for installation after ordering. If your basement has history of water intrusion, address that first: a dehumidifier can’t fight active leaks. Recent industry resources on home renovation planning offer cost guidance for climate-controlled spaces, though pricing varies widely by region and scope.
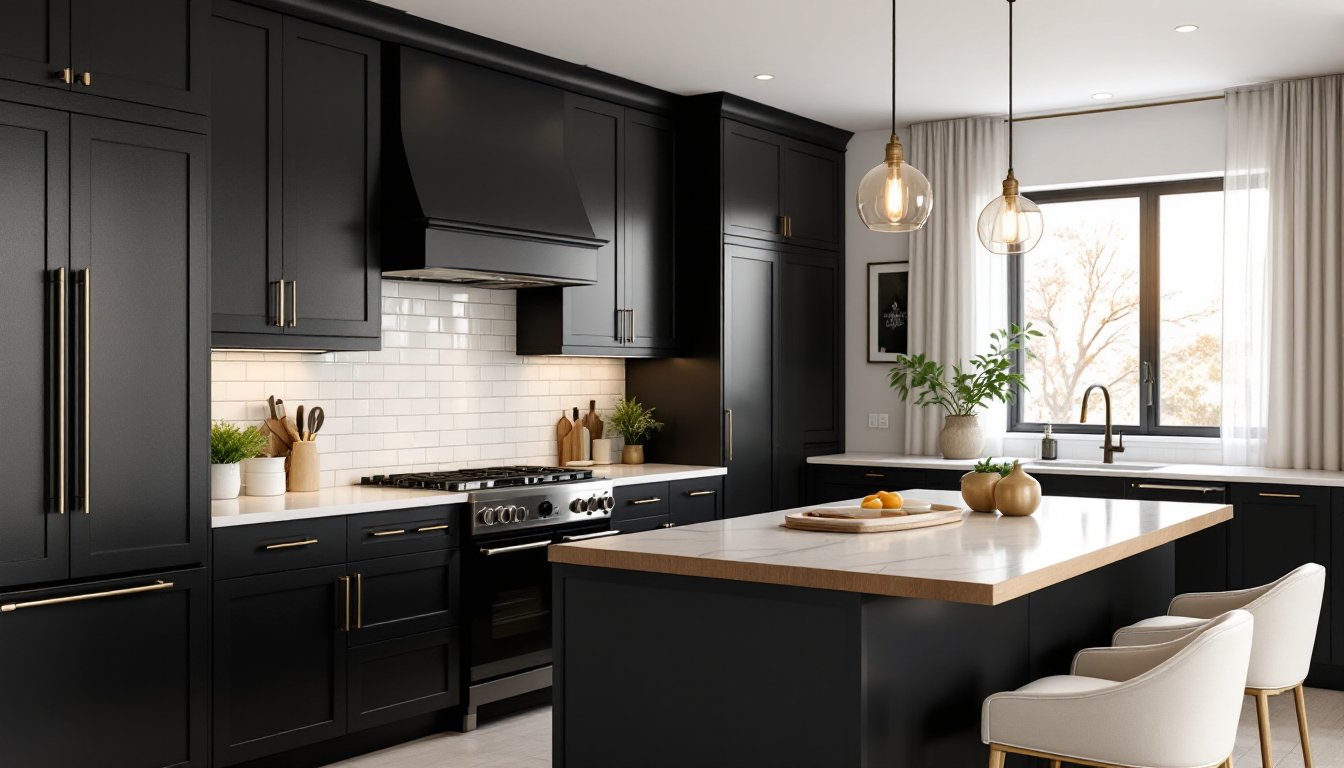
Storage Shelving and Wine Rack Options
Storage dictates how your collection looks and functions. Horizontal bottle storage (cork-side down) keeps corks moist and maintains proper seal integrity. Vertical storage is fine for short-term holding (weeks to months) but isn’t ideal for aging.
Options break into three categories:
Wood Wine Racks: The traditional choice, solid wood (oak, pine, redwood) with routed holes or diamond-lattice designs. These look intentional and warm. Expect to pay $15–$40 per bottle of storage capacity for quality racks. The downside: wood can absorb moisture and harbor mold in high-humidity cellars unless finished with polyurethane or wine-safe lacquer. If building custom racks, use kiln-dried lumber (moisture content under 12%) and finish all surfaces. A miter saw helps you cut clean 45-degree angles for lattice work: a dado blade on a table saw speeds out the mortises for bottle holes.
Metal Racks: Stainless steel or powder-coated steel racks resist humidity and are easy to wipe down. They’re more industrial-looking but durable. Cost runs $10–$30 per bottle. Install with concrete anchors if mounting to basement walls: drywall anchors alone won’t hold a loaded rack.
Wine Walls: Modular systems (like Vinotemp or custom glass-fronted displays) combine cooling, lighting, and storage in one unit. Prices start around $5,000 and climb quickly, but they’re plug-and-play for smaller collections. Recent basement design inspiration highlights integrated wine wall concepts that double as room focal points.
Regardless of style, shelving must be rated for weight. A standard 750 mL bottle weighs 3 lbs full: a loaded rack can exceed 200 lbs. Use lag bolts into studs for wall-mounted racks, never just drywall anchors. If floor-mounted, ensure your basement floor can handle concentrated loads, a structural engineer should verify if you’re skeptical.
Lighting Design for Wine Cellars
Lighting serves dual purposes: functionality and aesthetics. Standard fluorescent or bright LED lighting degrades wine over time (UV and heat accelerate oxidation), so choose carefully.
Use low-output, warm-color LEDs rated 2700K or lower (that’s the color temperature, lower means warmer, more amber-toned). Recessed downlights on a dimmer let you set mood without overexposing bottles. If you’re installing new ceiling fixtures, space them 6–8 feet apart in a grid: uneven shadows look sloppy. Battery-operated LED puck lights under shelves or inside wine walls add ambiance without running new wiring.
Avoid halogen and incandescent bulbs, they generate heat and age your wine. If you have existing recessed cans wired into your basement circuit, retrofit them with LED trim kits (under $10 each). Install a dimmer switch (a standard toggle replacement, $15–$25) to control mood and minimize light exposure when bottles aren’t being viewed.
Take seriously the rule: use lighting sparingly. Your wine needs darkness most of the time. Consider motion sensors on task lighting if you’re reading labels or selecting bottles, but let your main mood lighting sit off unless entertaining.
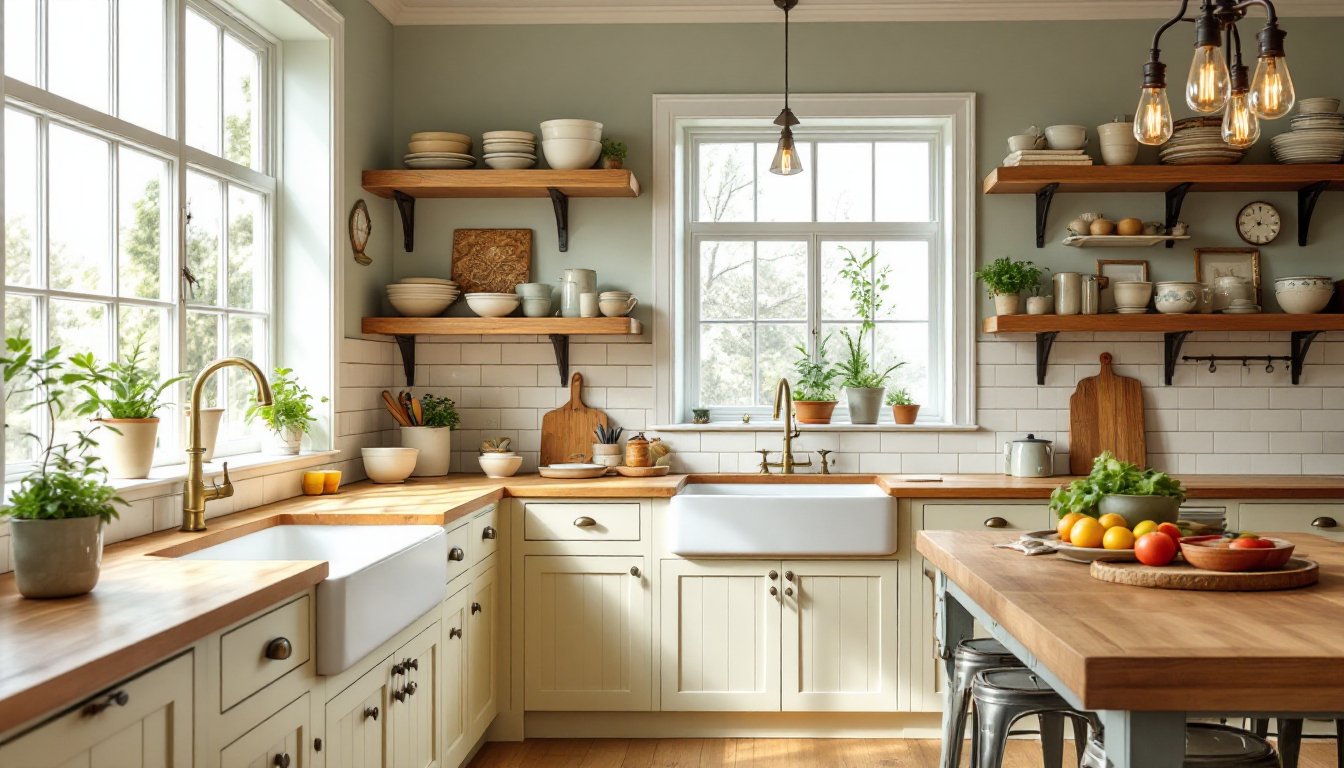
Flooring and Wall Finishes
Basements demand moisture-resistant materials. Avoid standard drywall and carpet: they absorb water and invite mold.
Flooring: Sealed concrete, polished concrete, or epoxy-coated concrete works best. It’s durable, easy to wipe clean, and naturally cool. If you want warmth underfoot, luxury vinyl plank (LVP) rated for basements adds comfort and resists moisture far better than wood. Porcelain tile is another solid choice, grout it properly and seal with a penetrating sealer afterward. Avoid carpet and engineered hardwood: moisture will ruin both within months. Concrete polishing costs $3–$8 per square foot if hiring a pro: epoxy coating runs $2–$5 per square foot.
Walls: Use moisture-resistant drywall (also called paperless or cement board drywall, such as DryDex or Dens-Armor) instead of standard drywall. This material resists mold even if slightly damp. Paint with basement-grade paint (elastomeric or acrylated rubber-based) that adheres even to damp surfaces. Two coats of quality basement paint cost $40–$80 per gallon and cover 300–400 sq. ft. per gallon.
If your basement has any active moisture, install a vapor barrier on the floor before framing (6-mil polyethylene or better). Run it up the wall several inches. This prevents water from wicking upward into studs. If moisture is severe, consult a waterproofing contractor before finishing, a flooded wine cellar is a disaster you’ll regret. Home design shows and professional resources frequently showcase basement finishing approaches that prioritize moisture management, so reference those for region-specific strategies.
Finishing Touches and Ambiance
Once the bones are in place, finishing details transform the space from functional storage into an actual room.
Add a small seating area or tasting counter if space permits, a compact bistro table, two stools, and a prep surface become your entertaining hub. A mini fridge stocked with stemware chills glasses to proper temperature: a small wooden shelf holds tasting notes and a wine key.
Décor choices matter psychologically. Wine-themed art, a tasting log on a chalkboard, or a temperature/humidity display mounted visibly reinforce the room’s purpose without overdoing it. Avoid generic “wine is good” signs: they cheapen the space. Instead, a well-lit bottle or two displayed at eye level on a dedicated stand draws focus.
Sound dampening pays dividends if your cellar is below a living area. Rigid insulation in stud cavities and fiberglass behind the shelf units absorb vibration from the cooling unit. Your neighbors (or family upstairs) will thank you.
Finally, plan for accessibility. Ensure the door opens wide enough for a hand truck if you’re moving cases. Label your racks or use a spreadsheet to track what’s where, climbing around in dim light looking for a specific bottle gets old fast. Consider an interior design refresh approach that extends to your cellar’s visual hierarchy and flow, ensuring it feels like a designed room, not an afterthought.
The beauty of a basement wine cellar is that it works harder than it looks. Every detail, from temperature sensors to shelf placement, serves the bottles and the experience. Invest in the fundamentals (climate, storage, moisture control) and the finishing touches follow naturally.
Bringing It All Together
A properly designed basement wine cellar doesn’t require a six-figure budget or a contractor on speed dial. Start with climate control and structural moisture management, these are your foundation. From there, choose storage that matches your aesthetic and collection size, light thoughtfully, and finish with materials that last in a basement environment. The result is a space that preserves your collection, encourages entertaining, and adds tangible value to your home. Build smart, age better wines, and enjoy the process.